Table of Contents
Have you run a performance audit using PageSpeed Insights (PageSpeed Insights) and got the “efficiently encode images” warning? Don’t worry. This issue is easy to solve when you have the right tools!
In this article, we explain what efficiently encoding images means and how it can affect your site’s performance. We also give you 7 image optimization techniques you can use to give an extra speed boost to your WordPress site. And as a bonus, we show you how to easily get rid of the “Efficiently encode images” issue using Imagify, one of WordPress’s best image optimization plugins.
What Does Efficiently Encode Images Mean?
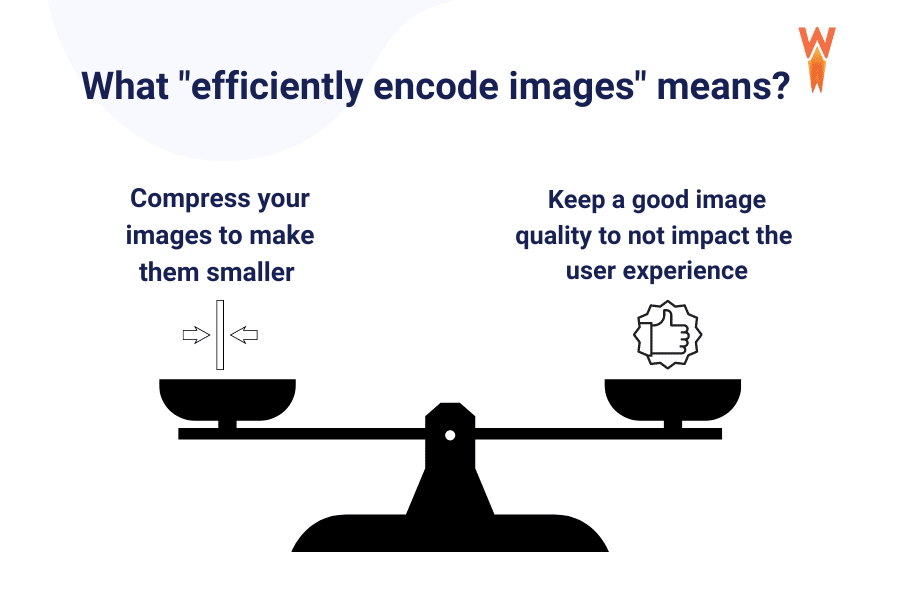
“Efficiently encoding images” means optimizing images to reduce their file size without compromising quality. It’s all about finding the right balance between size and acceptable visual quality for visitors landing on your website.
What Triggers the “Efficiently Encode Images” Issue?
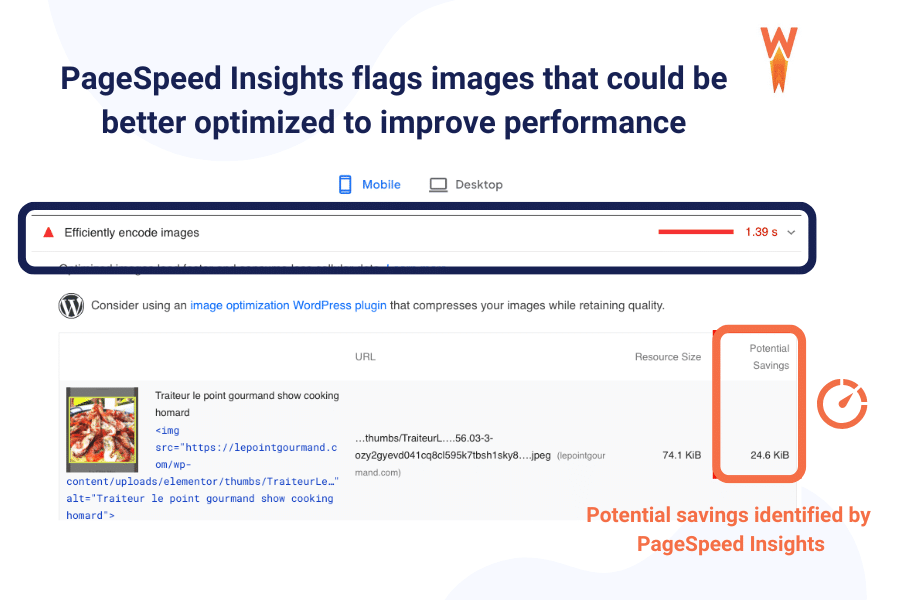
Google triggers this message if it detects that some of your images could be optimized and compressed. It detects which image could be smaller and improve performance.
Lighthouse scans the images displayed on the page and sets the compression level to 85%. If the potential saving is 4 KiB or greater, PageSpeed Insights reports the image and flags it in the “Potential Savings” column:
The Impact of Optimized Images on Performance
Efficiently encoding Images is an optimization technique allowing you to serve pictures at a smaller size, loading them faster. Unoptimized images at a very high quality often result in large file sizes. If you have 20 of them on your web page, the loading time will likely increase, damaging your visitors’ experience.
| Pro tips: If the potential KB savings are important, this should be considered a high-priority optimization to avoid any impacts on the speed of your website. |
In the next section, we share 7 image optimization techniques that allow you to serve your images on your WordPress site properly.
How to Efficiently Encode Images on WordPress
There are two effective ways to efficiently encode images and fix this PageSpeed Insight recommendation — the first two of our list. In addition to them, there are also other five steps that can help you optimize your images:
- Compress Your Images
- Convert Images to WebP (Next-gen format)
- Implement Lazy Loading
- Serve Images with the Correct Dimensions
- Use an image CDN
- Convert Animated GIFs into Videos
- Use high-expiry headers for images
Let’s go over each step.
1. Compress Your Images
Image compression reduces the image file while retaining quality. The images can be stored and displayed in their most efficient form, meaning properly encoded on the web page. Image compression can be lossy but lossless. It depends on how much you want to impact its quality.
Image compression should be almost invisible to the naked eye. As an example, this is what an optimized vs. unoptimized image looks like:
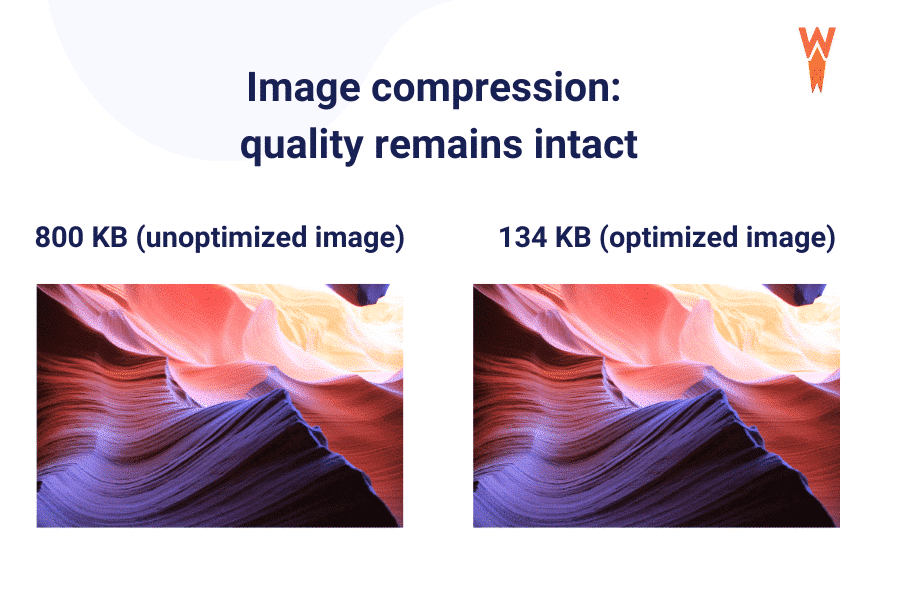
Unoptimized images significantly affect your page speed and slow down your WordPress site. Thankfully there are many plugins out there that can optimize your images in a few steps. (Jump to our bonus section to see how Imagify can help).
2. Convert Images to WebP (Next-gen Format)
WebP is a next-gen image format that provides a superior compression level for images. As a result, your images are better encoded, boosting the performance score on the PageSpeed audit.
According to Google’s study, “WebP images are smaller than their JPEG and PNG counterparts—usually on the magnitude of a 25–35% reduction in filesize”. In the figure below, we can see that WebP offers better compression than the JPEG format:

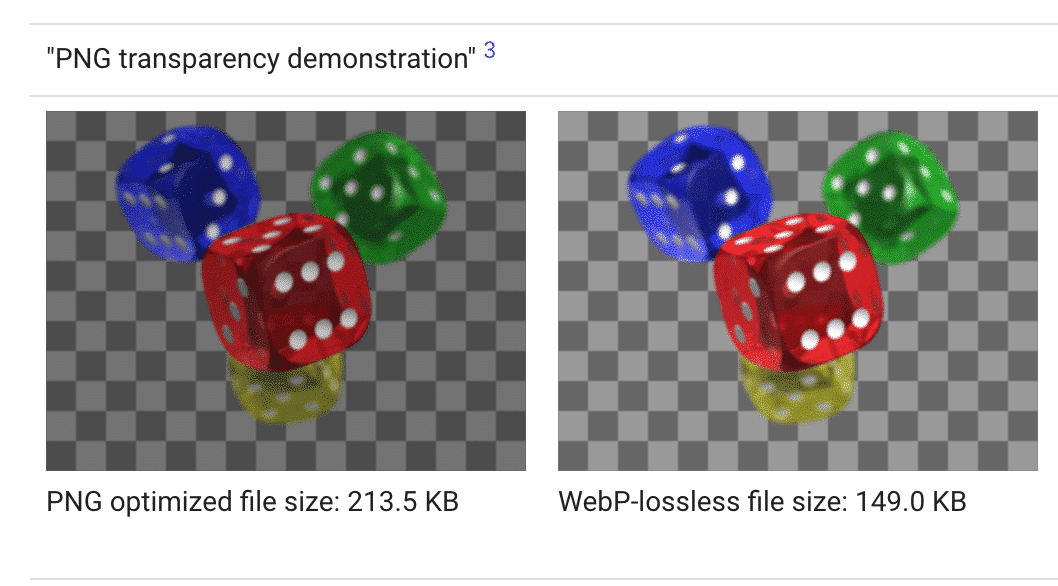
WebP format also works with PNG transparent images, with the same performance outcome: the file size is much lighter using the WebP format.
If you want to read more about the next-gen format, we recommend you read this interesting article that explains how to use WebP format on WordPress.
3. Implement Lazy Loading
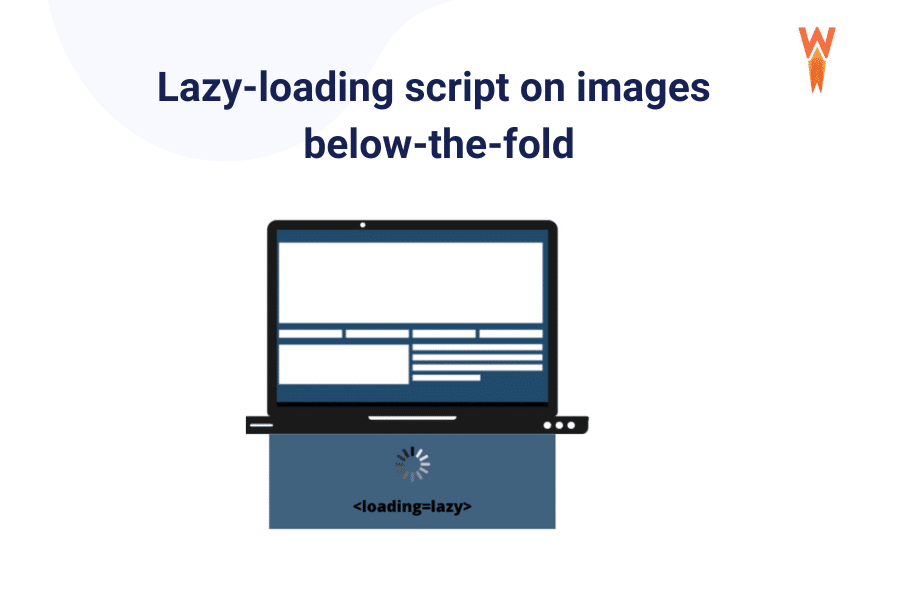
Lazy loading can help to efficiently encode your images because it displays images only the user needs. They will be rendered by the browser only when they are in the user’s viewport. It’s an image optimization technique that defers loading the below-the-fold images to prioritize the most critical content.
To implement lazy loading manually, you can add the following lazy load script on your image:
“loading=lazy”
If you are uncomfortable adding this code manually to your images, we recommend using a free WordPress plugin like Lazy Load by WP Rocket.
4. Serve Images with the Correct Dimensions
Lighthouse makes it easy to find incorrectly-sized images on your WordPress site. Here are the answers to the most common questions on correct dimensions.
How do you know you are not using the right dimension for your image?
Audit your page on PageSpeed Insights and check if you get the “Properly size images” warning.
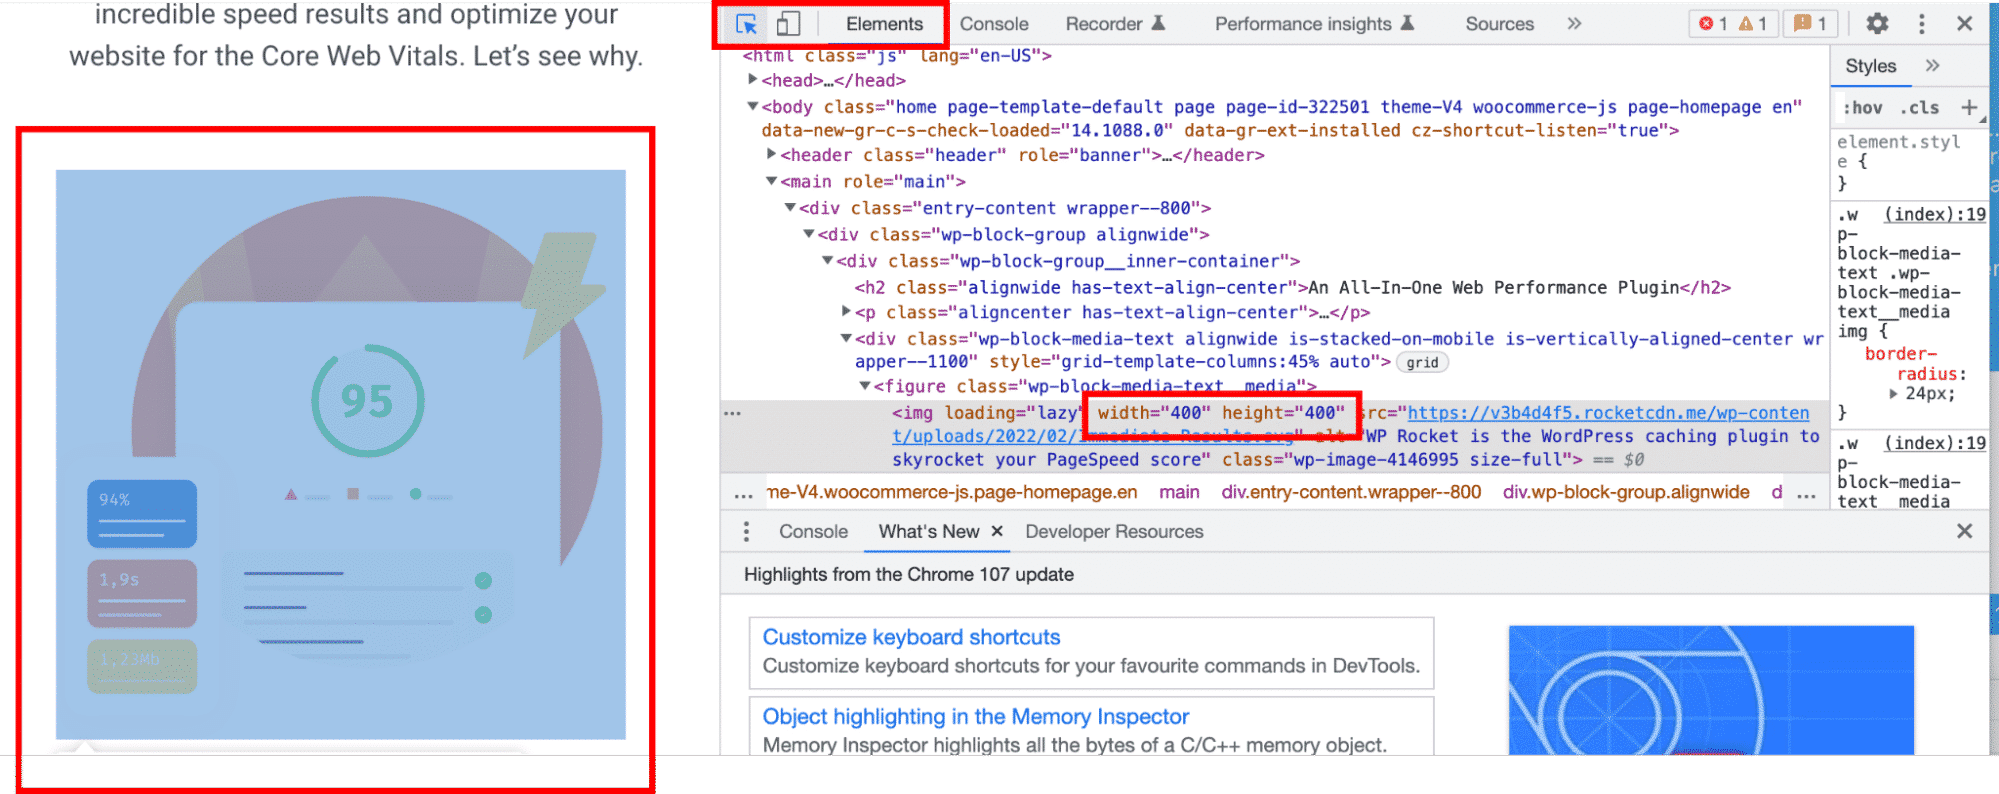
How to check your actual image size served by the browser?
Use DevTools Elements panel from Chrome to check what size an image is displayed at:
What’s a good image size?
Your browser should never serve larger images than the user’s screen (mobile, tablet, or desktop). Google recommends using the optimal image sizes, including those with the breakeven point, to serve fully responsive images.
How does that impact performance?
Keeping images that fit perfectly on the users’ screens will ensure they load quickly on their devices.
To properly size your images and avoid your website slowing down, you can use several techniques:
- Purchase designer tools like Photoshop or Lightroom
- Use software already installed on your computer and resize each image manually
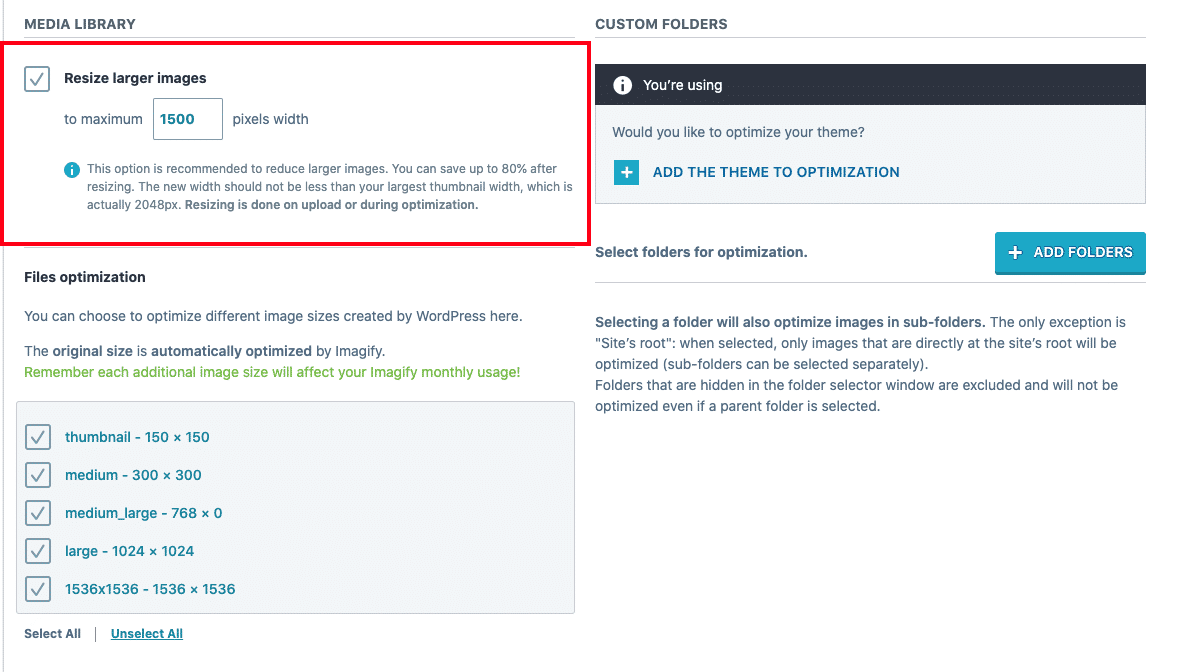
- Use an image optimization plugin, like Imagify to resize in bulk all of the existing images on your site:
5. Use an Image CDN
Another way to efficiently encode images on WordPress is to use a reliable CDN provider. A CDN will deliver your images faster to users worldwide and help fix many PageSpeed Insights issues. The figure below shows how RocketCDN uses caching in their Points of Presence located on every continent.
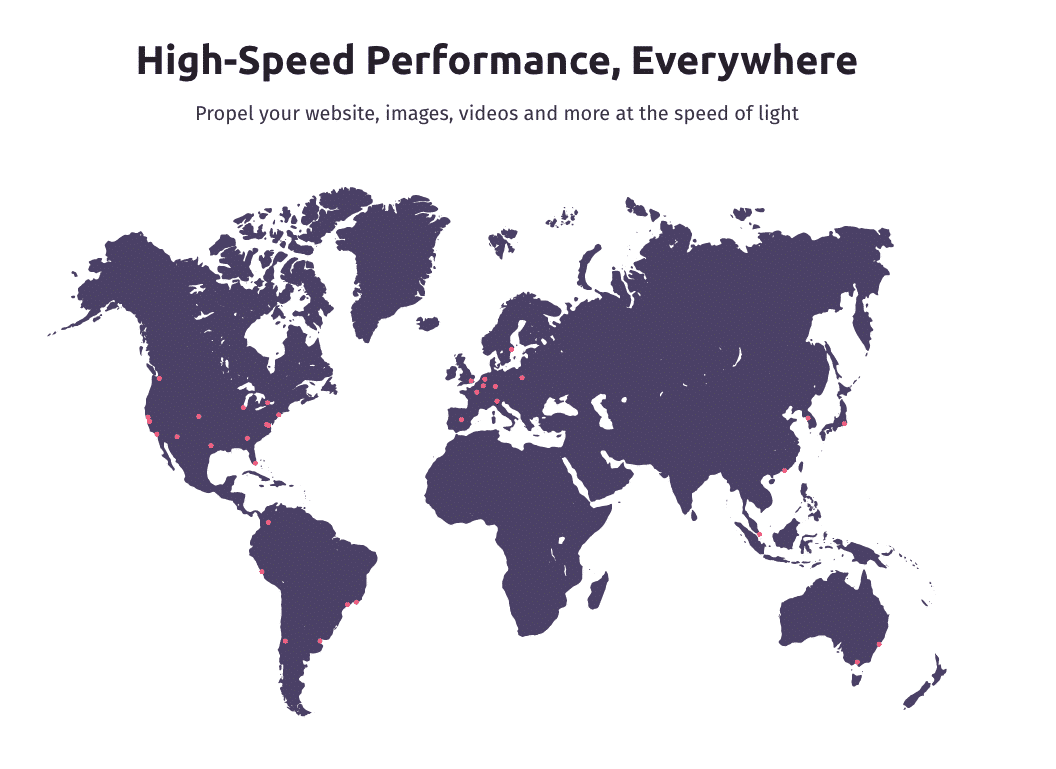
Switching to an image CDN can yield a 40–80% savings in image file size. Why is the saving percentage so high? An image CDN also allows you to resize your images for each type of device, reducing bandwidth consumption and boosting your site’s performance.
6. Convert Animated GIFs into Videos
Converting an animated GIF into a video will boost performance because a .mp4 video file is much lighter than a GIF.
– GIF file size: 4,8 MB
– MP4 file size: 876 KB (much lighter)
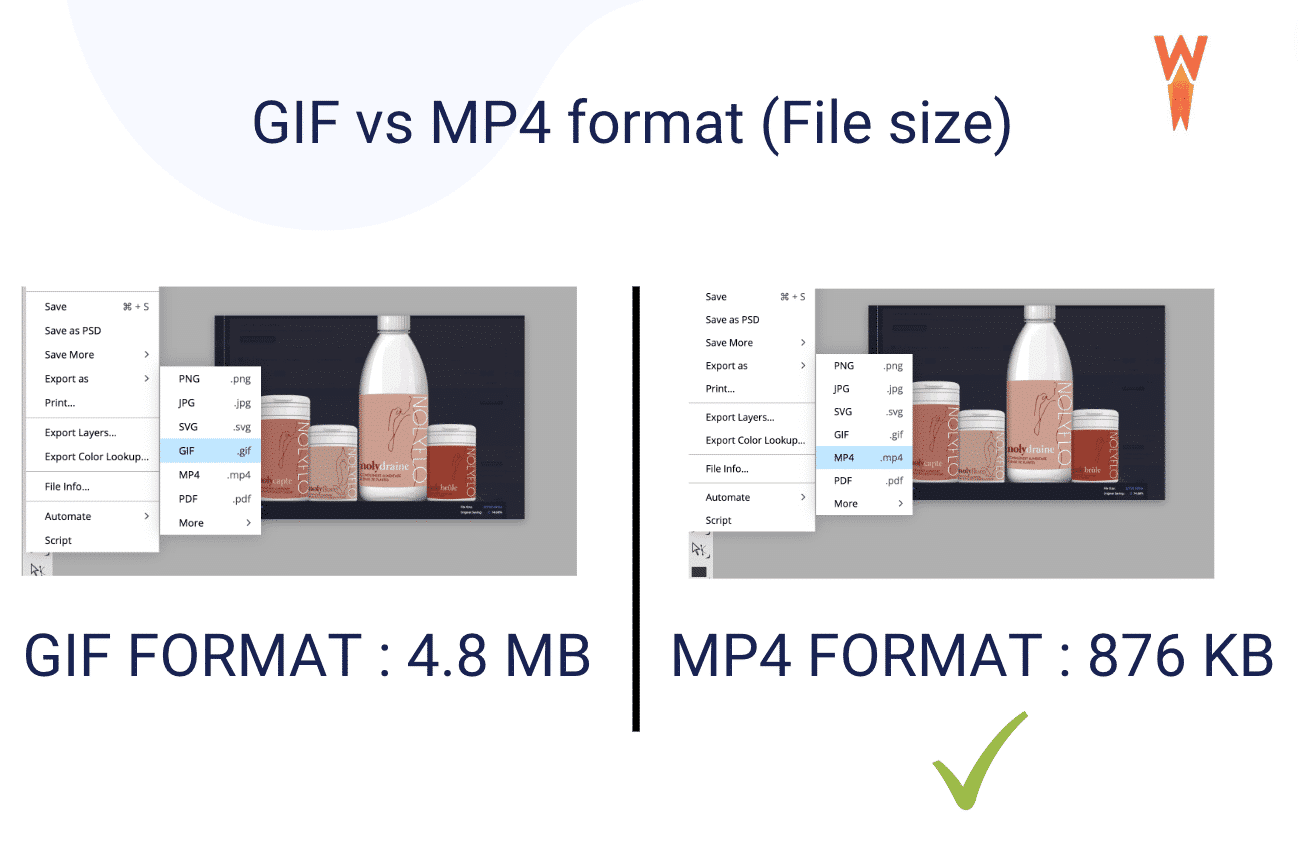
There are many ways to convert GIFs to MP4. In my example, I’ve used two free tools: Photopea and GIFTOMP4 converter.
7. Use High-expiry Headers for Images
Set a high high-expiry header for images to ensure the browser keeps them longer. This way, it does need to reload them every time there is a visit, which reduces the total loading time of your page.
You can use a tool like WP Rocket which enables browser caching (and expires headers) by default as soon as you activate the plugin. WP Rocket sets up expiration times that are optimal for your images.
The final part is a little bonus! We will introduce Imagify, a powerful image compression plugin that efficiently encodes images for you. If you have built your website with WordPress, then even PageSpeed Insights recommends you use a plugin:
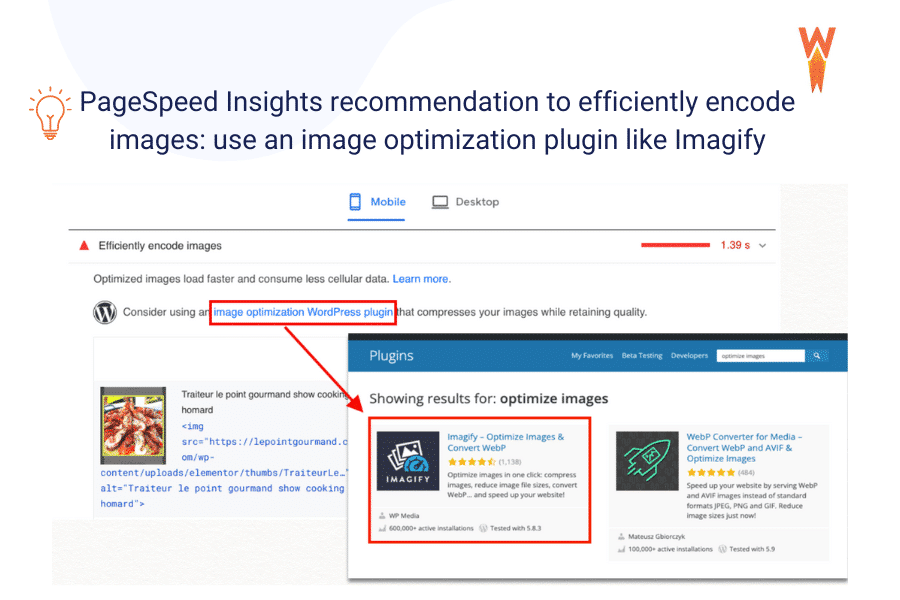
Bonus: How to Fix Efficiently Encoding Images With Imagify (Performance Test Included)
Thanks to Imagify, you can fix the “Efficiently encode images” warning in a few clicks. The image optimizer plugin allows you to compress your images without compromising quality.
Let’s see Imagify in action and how it helps fix the “efficiently encode images” issue.
Fixing Efficiently Encode Images (Test With Imagify)
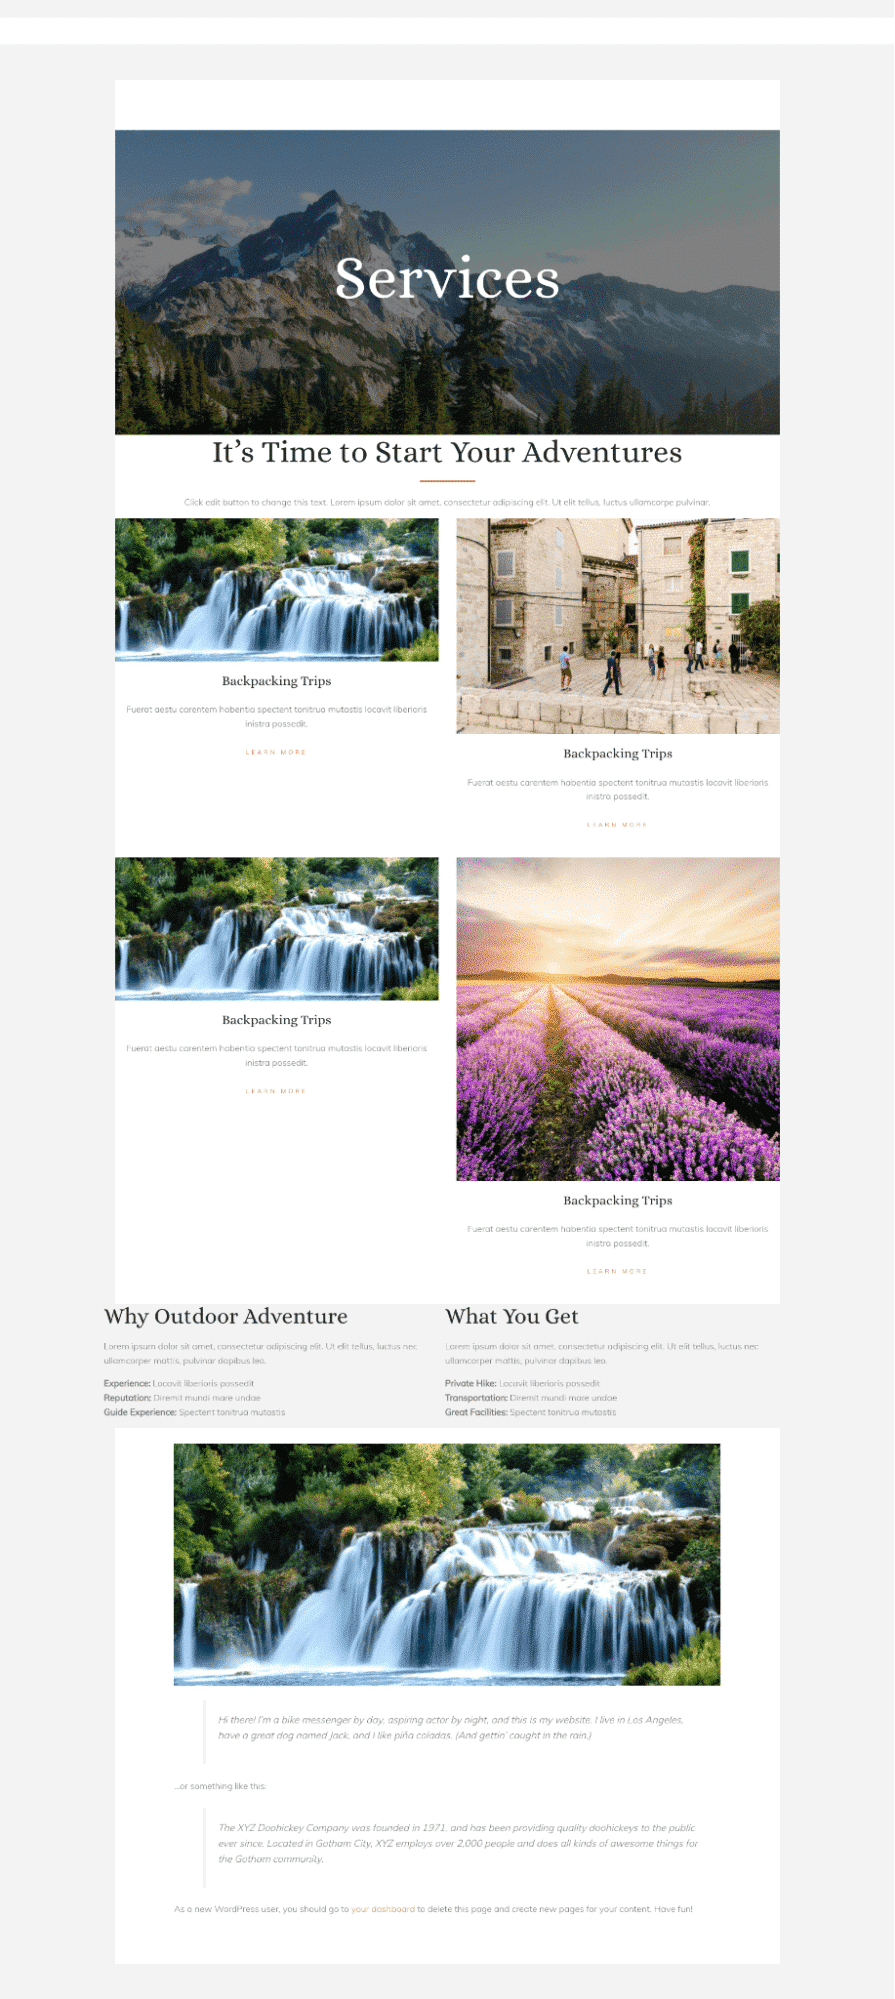
For my performance test, I’ve built a test site with 4 unoptimized JPEG images weighing between 1 MB and 2 MB.
Performance KPIs used:
- Overall performance grade on PageSpeed Insights
- Loading time (GTmetrix)
- Image file size
- PageSpeed Insights audit: Efficiently encode images
PageSpeed Insights Results – Without Imagify
Lighthouse is giving us an orange grade (50/100), meaning that we certainly have room for improvement. Most of my metrics are in the red, including my Largest Contentful Paint, one of the Core Web Vital – the measure of the user experience.
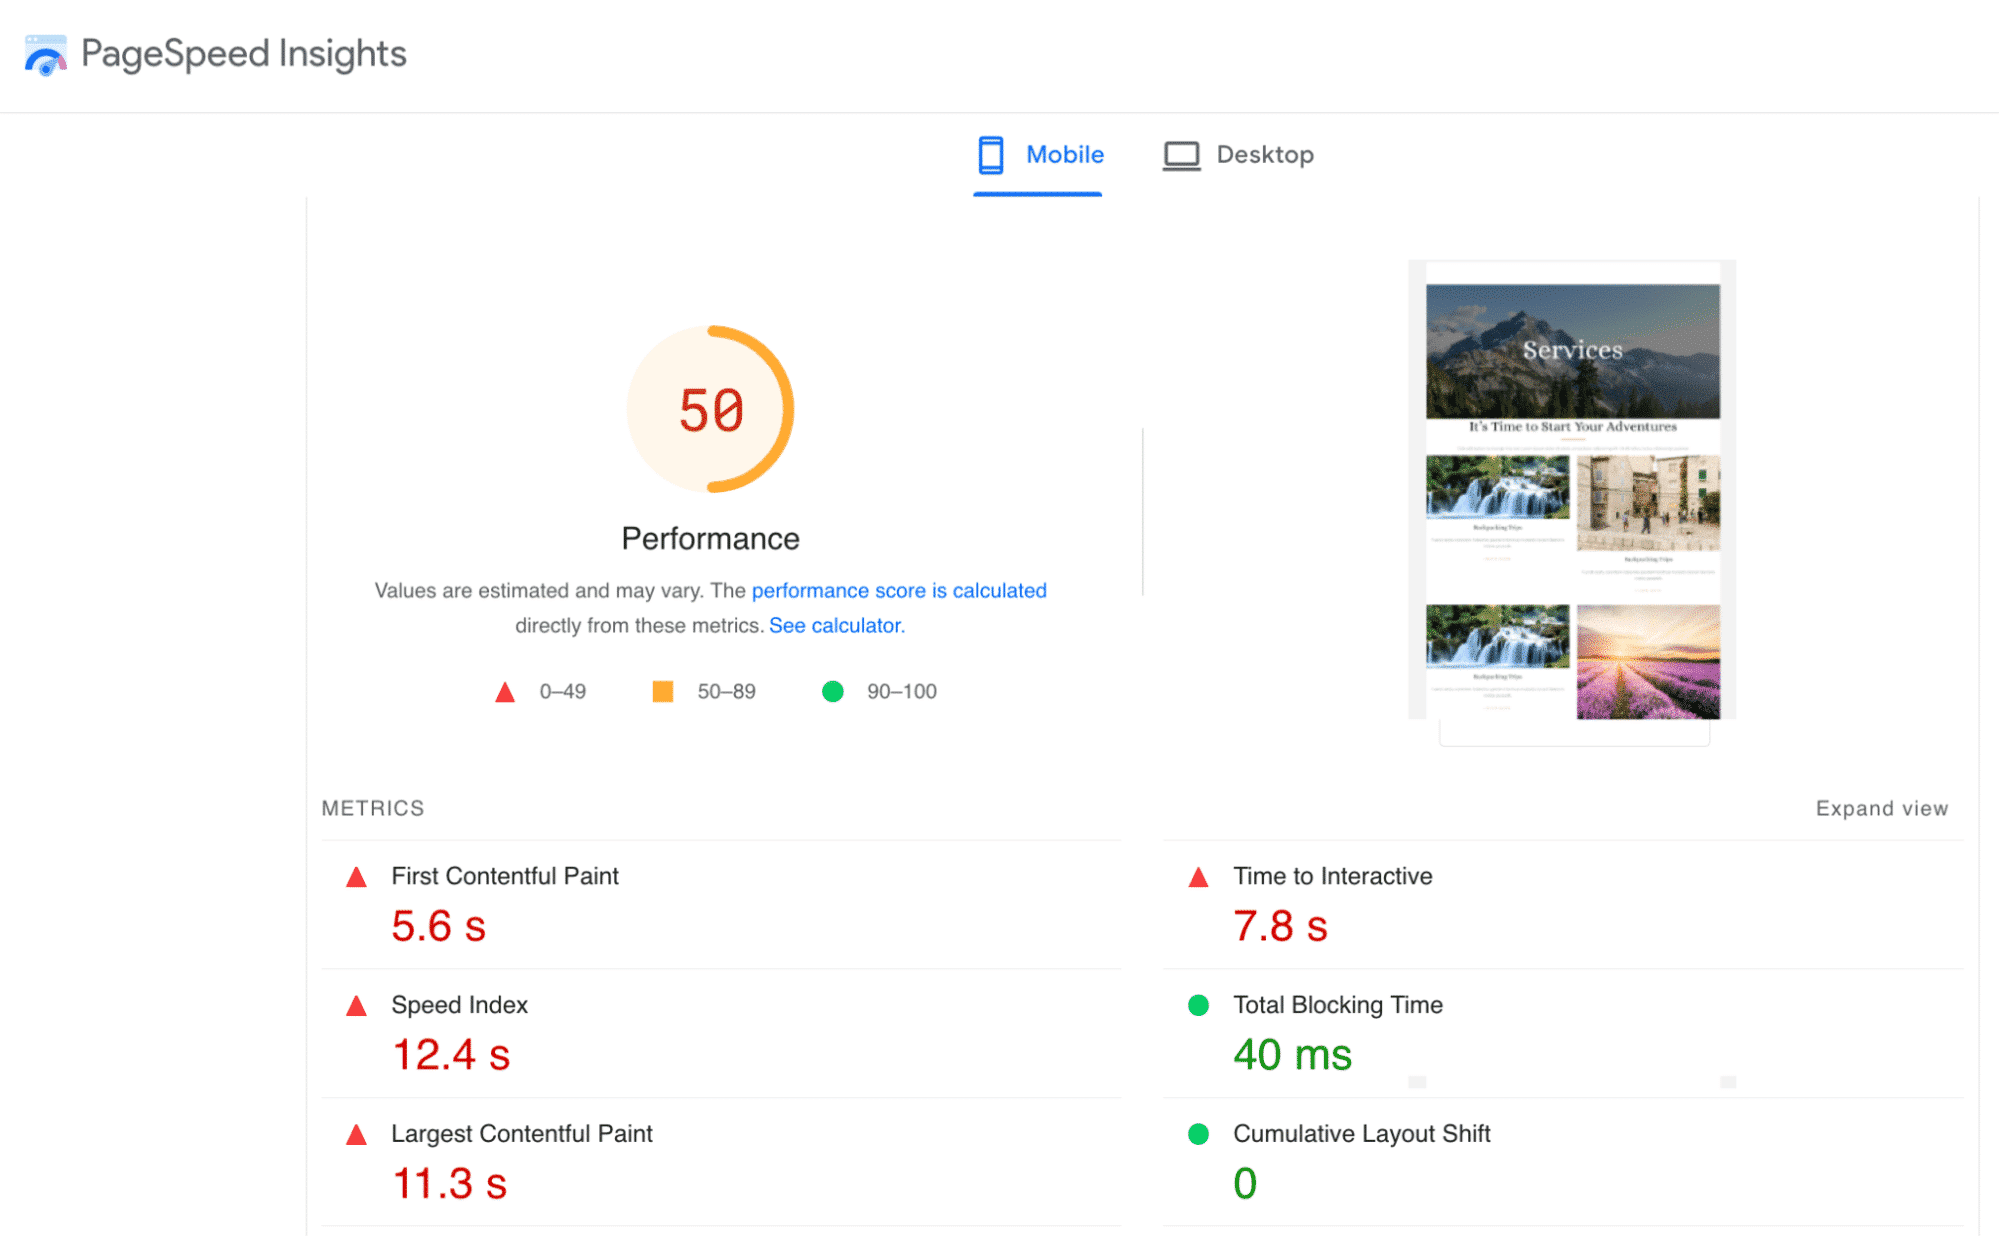
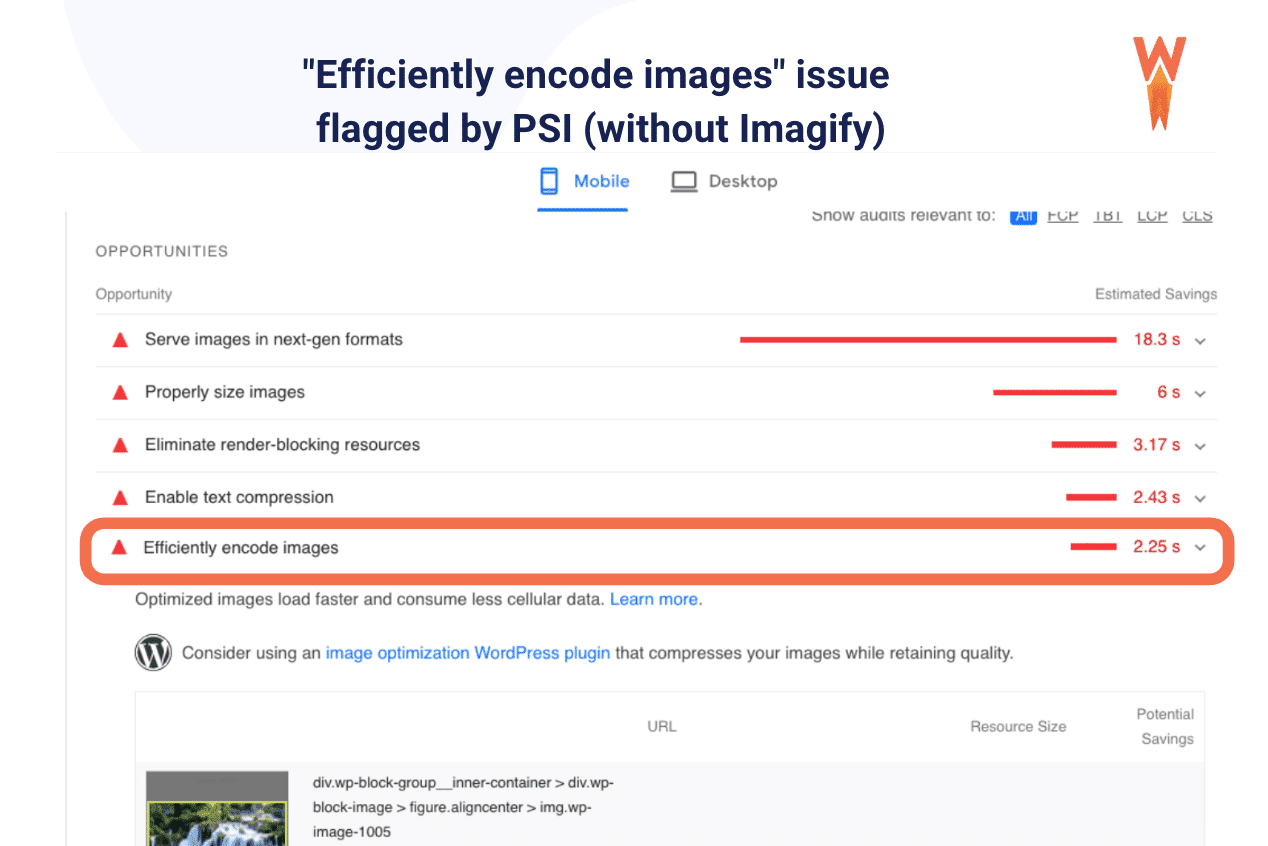
In this report, we also find the “Efficiently encode images” warning (fixable with Imagify)
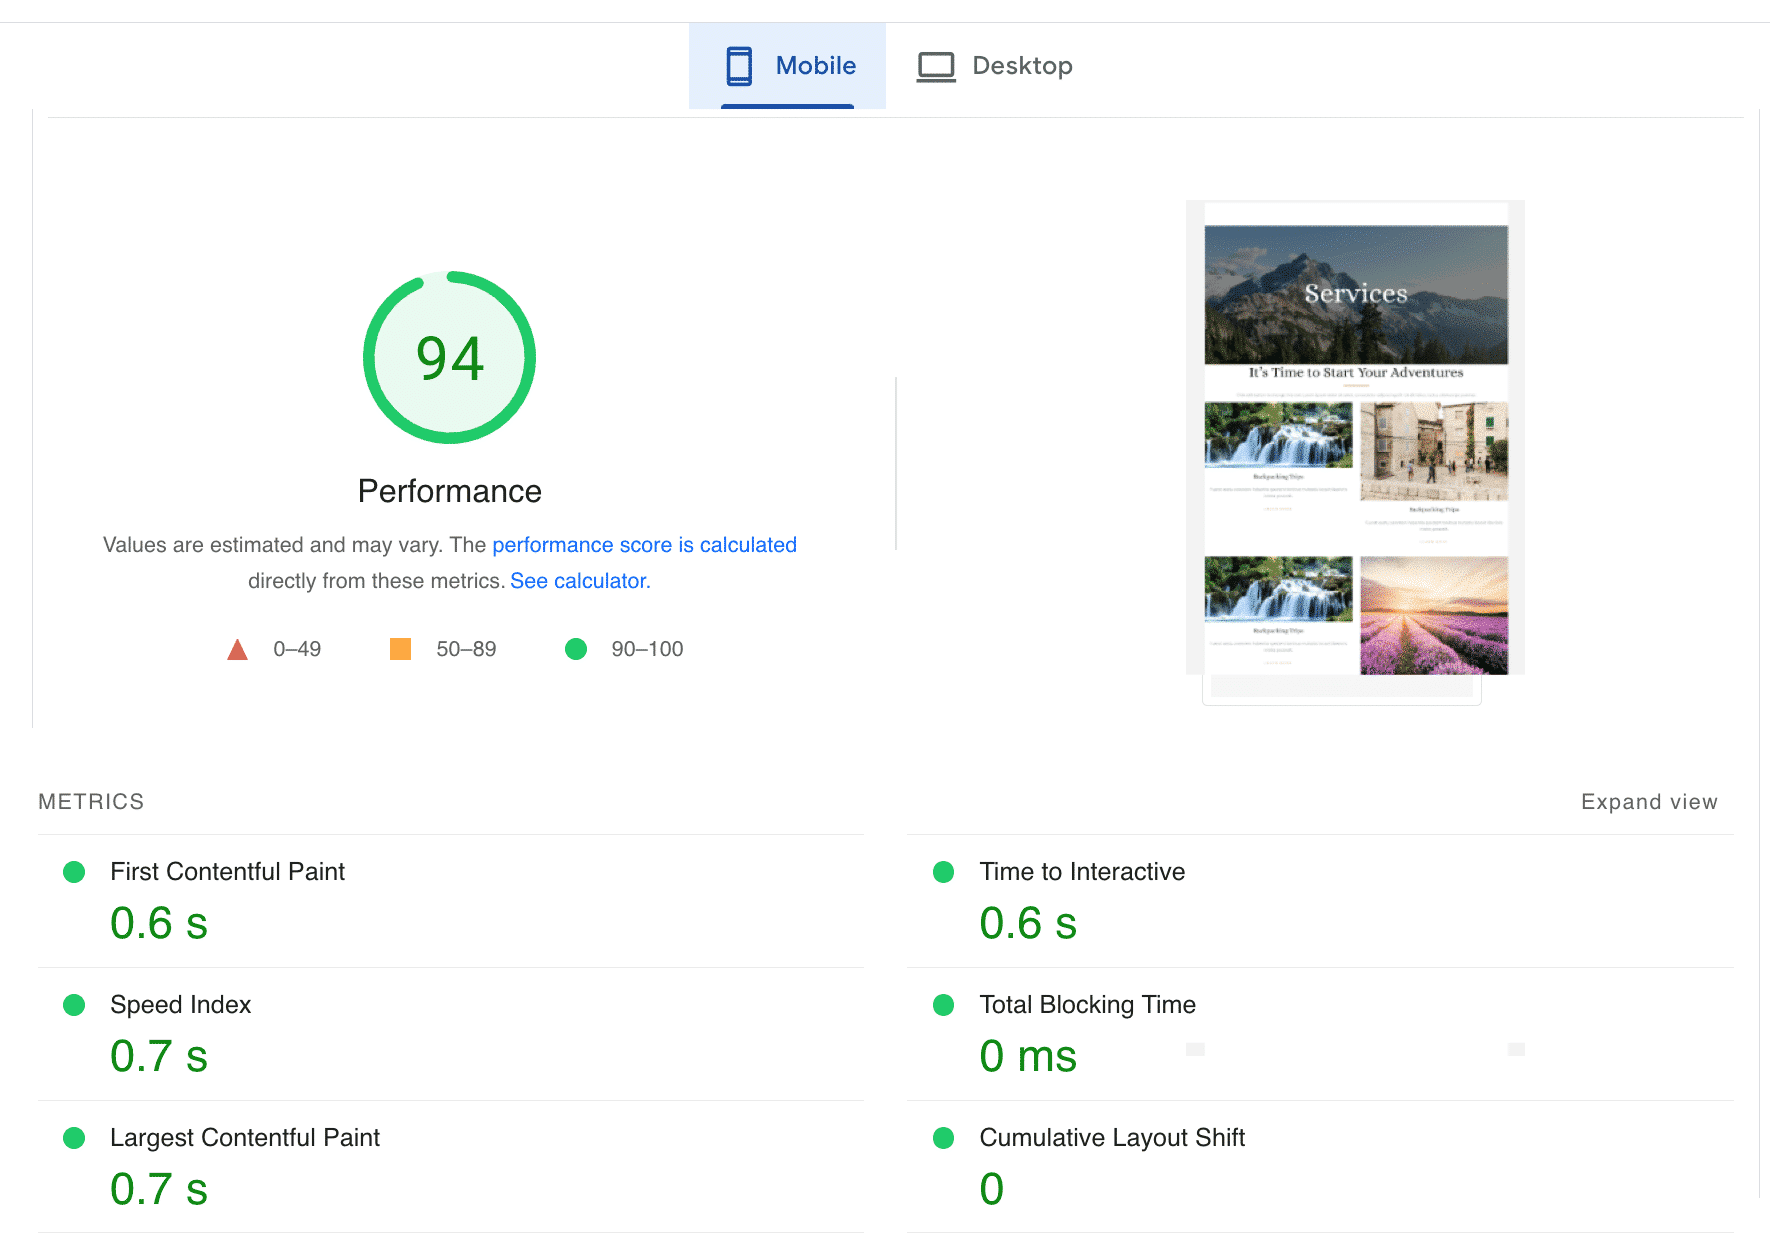
Performance results on PageSpeed Insights – With Imagify
The overall performance grade went from 50 to 94/100:
✅ Imagify fixed the “Efficiently encode image” warning:

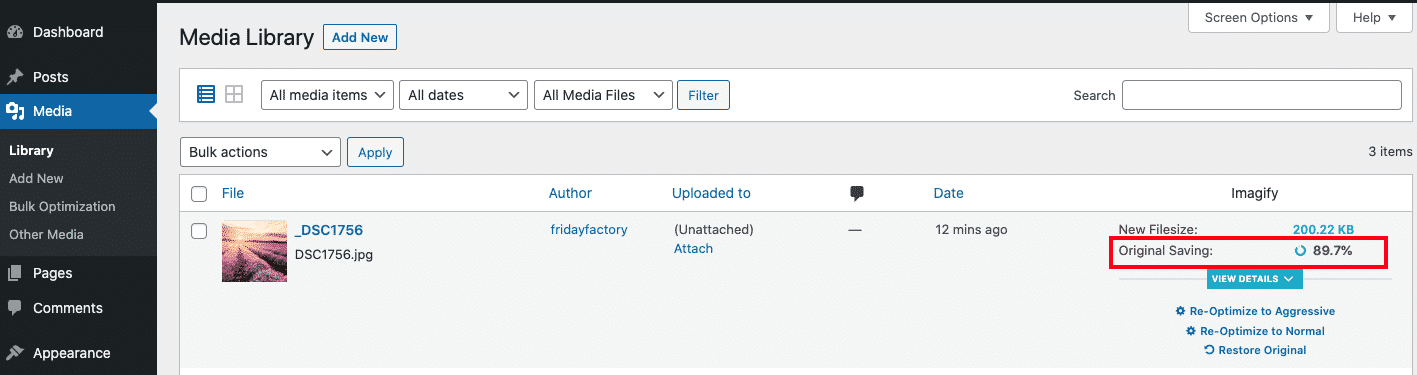
✅ Imagify compressed our images by 90%. Our image file size went from almost 2 MB to 200 KB, as shown in our example below:
Overall, that’s the impact made by Imagify on the performance audit:
| No Imagify | With Imagify | |
| Efficiently encode images audit | ❌ | ✅ |
| Overall performance grade on PageSpeed Insights |  |  |
| Loading time | 4,7 s | 2,1 s |
| Images file size | 2MB 1,5 MB 1,7 MB 11,1 MB | 200.22 KB 187KB 198 KB 110 KB |
In the last section, I’ve put together a very short tutorial you can follow to fix the warning, thanks to Imagify.
Fixing The “Efficiently Encode Images” with Imagify (2 Easy Steps)
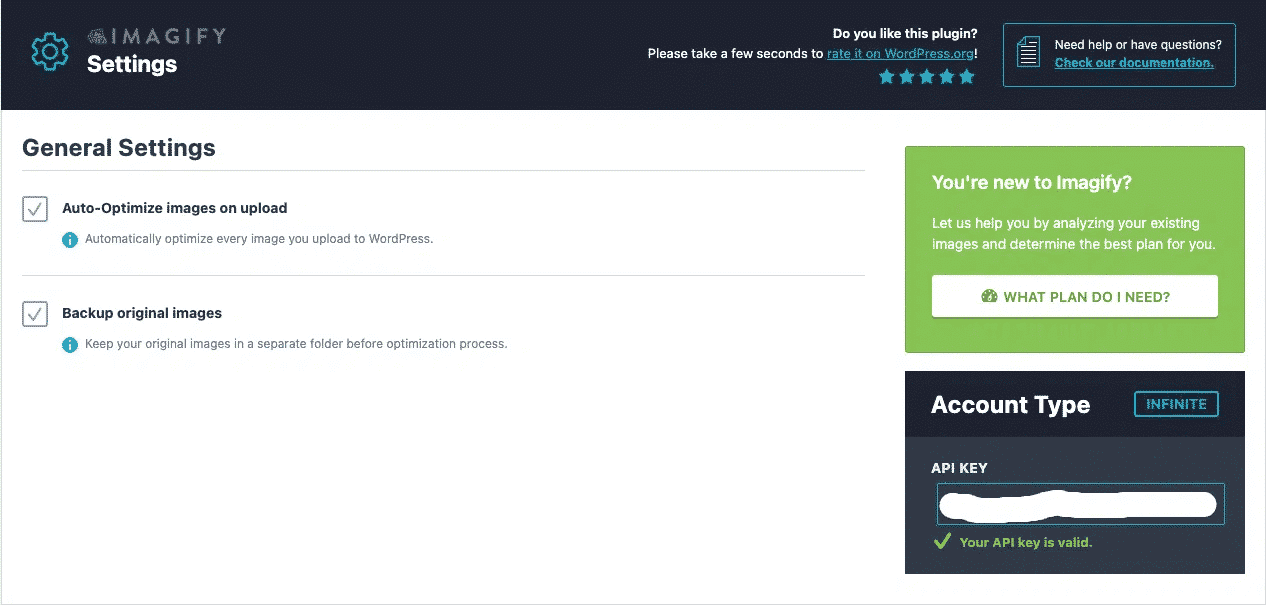
- Set up Imagify and create your API key
- {This step fixes the “Efficiently Encode Images” warning} Optimize your large images in bulk with Imagify using the Smart Compression mode. (That means automatically optimizing the entire library with the best settings in one single click!)
Wrapping up
Imagify easily fixed the “efficiently encode images” warning.
If you want to fix all the images-related issues flagged by PageSpeed Insights, here’s a useful toolbox you can use for your performance optimization journey:
| ⚒️ List of plugins you can use to optimize images and pass the PageSpeed Insights audit: Imagify, to compress images and serve them to WebP (fixes the “efficiently encode images” issue) WP Rocket, one of the best caching plugins to boost performance in a few clicks (helps the Core Web Vitals improve) Lazy Load by WP Rocket, applies the lazy-load script on images RocketCDN, delivers images faster across the world GIFTOMP4 converter – to convert my GIF to videos |
If you need to efficiently encode your images in WordPress faster, why not give Imagify a shot? You can try Imagify for free, optimize your images and encode them properly. Run your own before/after audit on PageSpeed Insights just like we did!